TryOnJewel Shopify Setup Guide: Complete Your Shopify Integration in 4 Steps
🛍️ What is TryOnJewel?
TryOnJewel brings the power of augmented reality (AR) to your Shopify store by allowing customers to virtually try on earrings, necklaces, nose rings, and more — right from their devices.
Follow these quick and secure steps to connect your store, enable virtual try-on, and start offering an enhanced shopping experience.
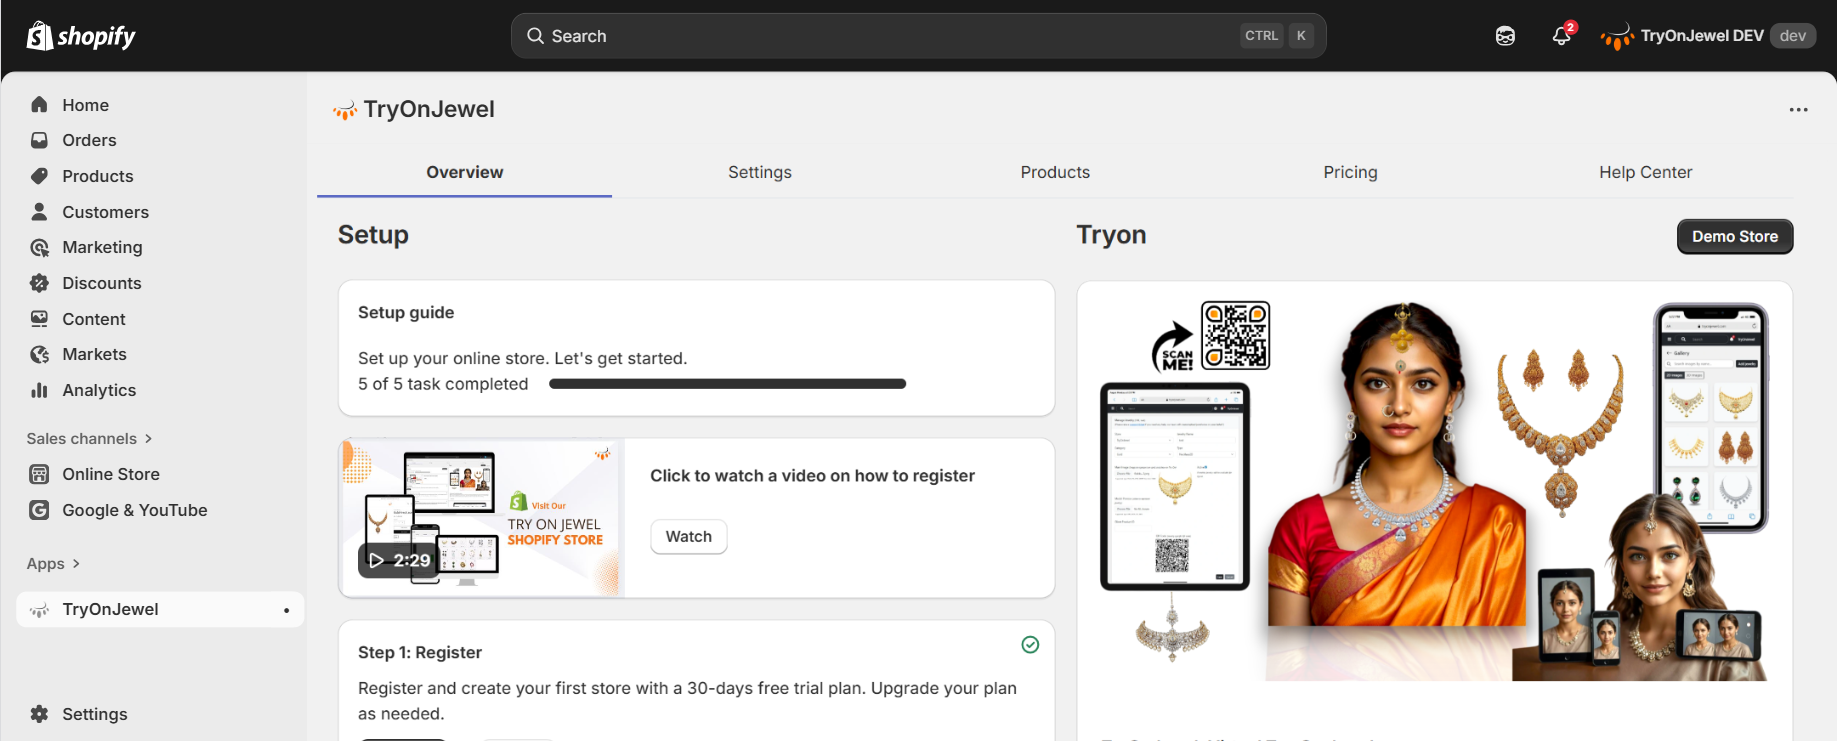
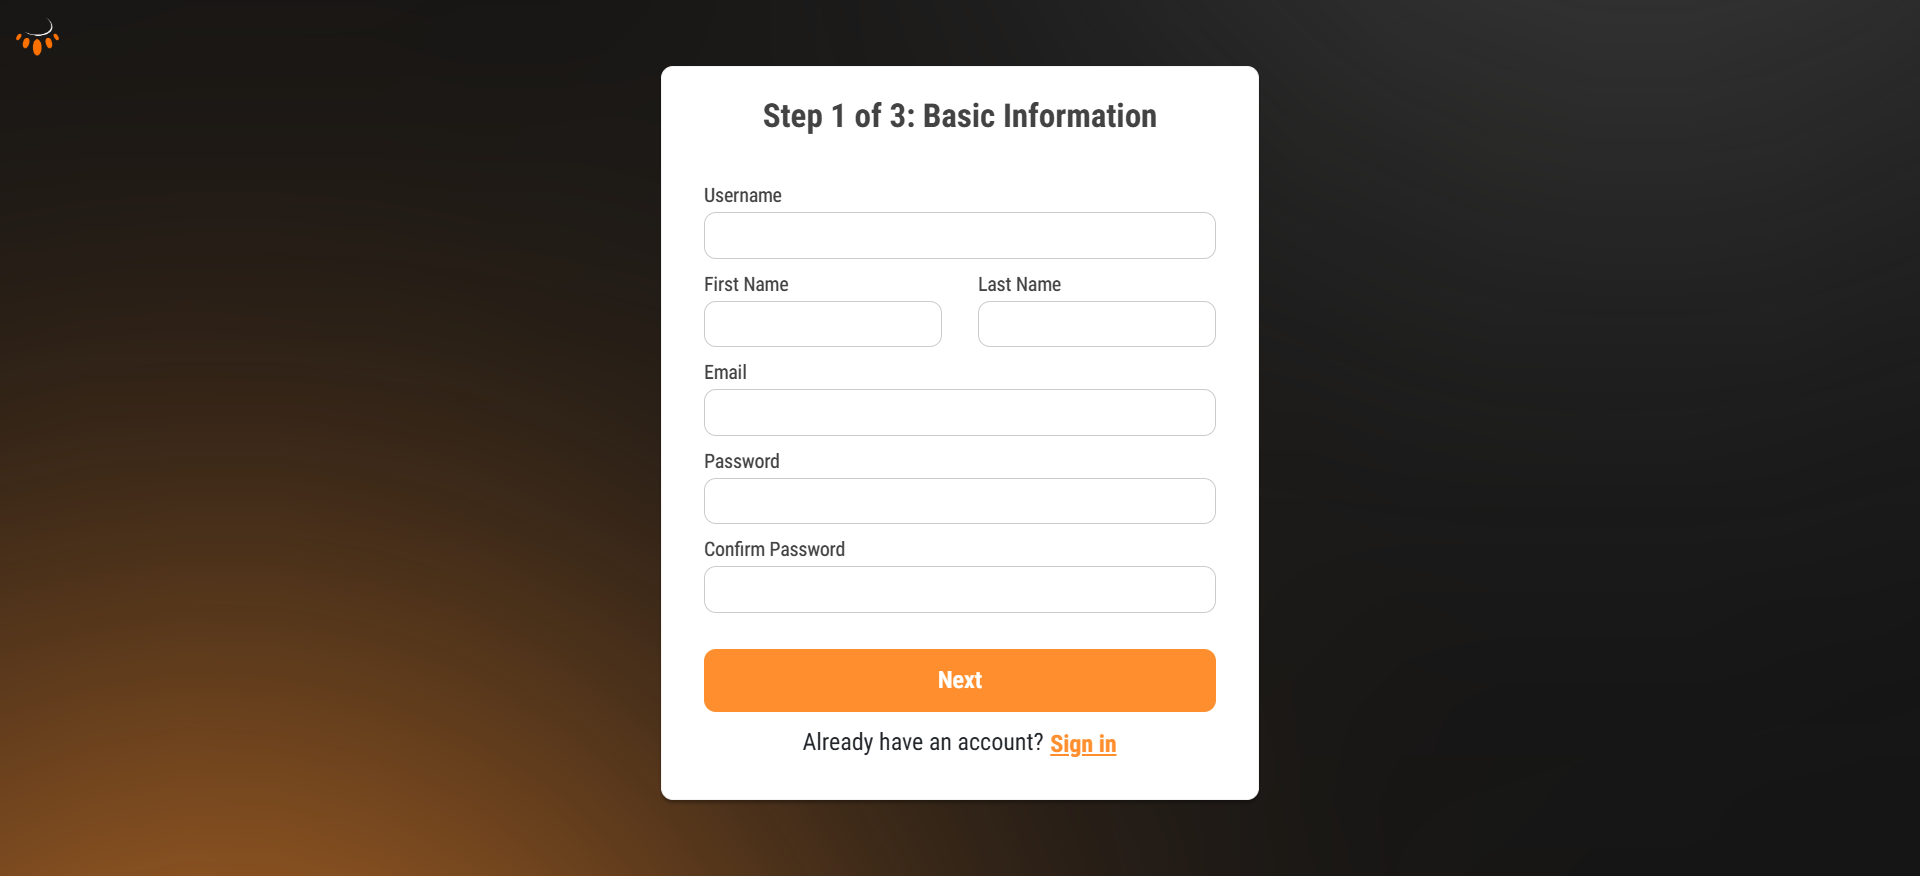
✅ Step 1: Register
Start your TryOnJewel journey by registering your store.
Enjoy a 30-day free trial and unlock the virtual jewelry try-on experience for your customers.
👉 Tap Register to begin.

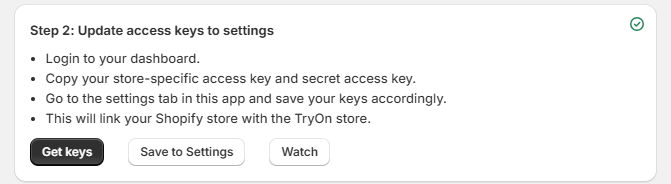
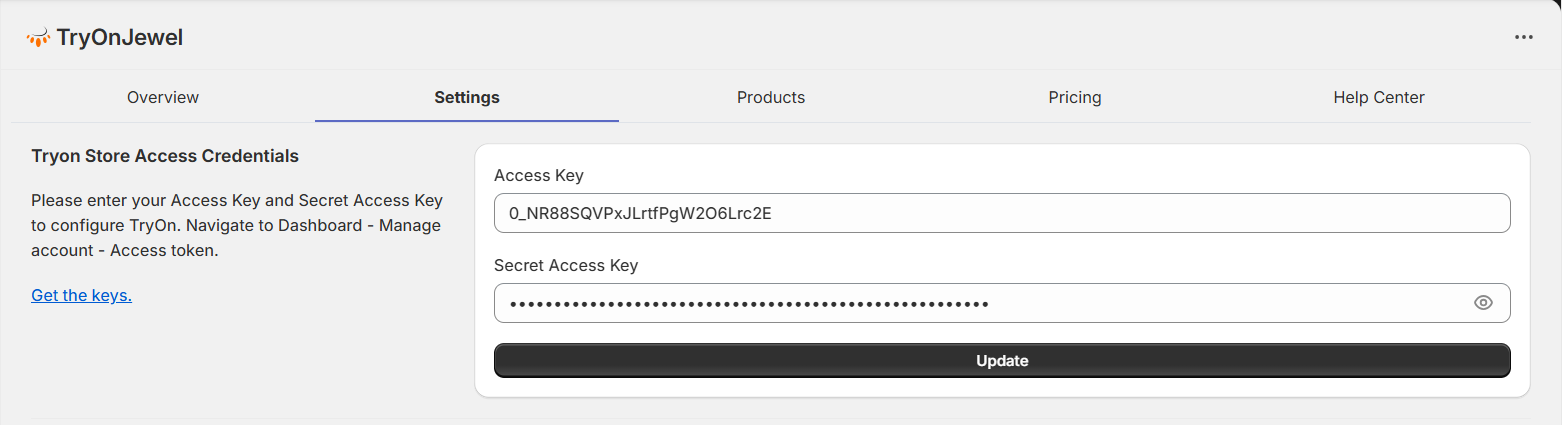
🔐 Step 2: Update Access Keys
Connect your Shopify store securely.
Go to Manage Account > Access Token, copy your keys, and add them in the app's Settings tab.
This links your store with TryOnJewel.
👉 Click Get Keys and Save to Settings.
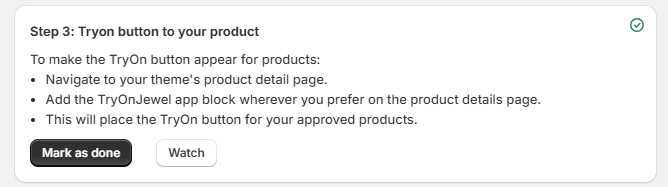
🛒 Step 3: Add TryOn Button
Make products interactive!
Navigate to your product page template and insert the TryOnJewel button below the Buy button.
Let shoppers try on jewelry in real time.
👉 Tap View to follow the guide.

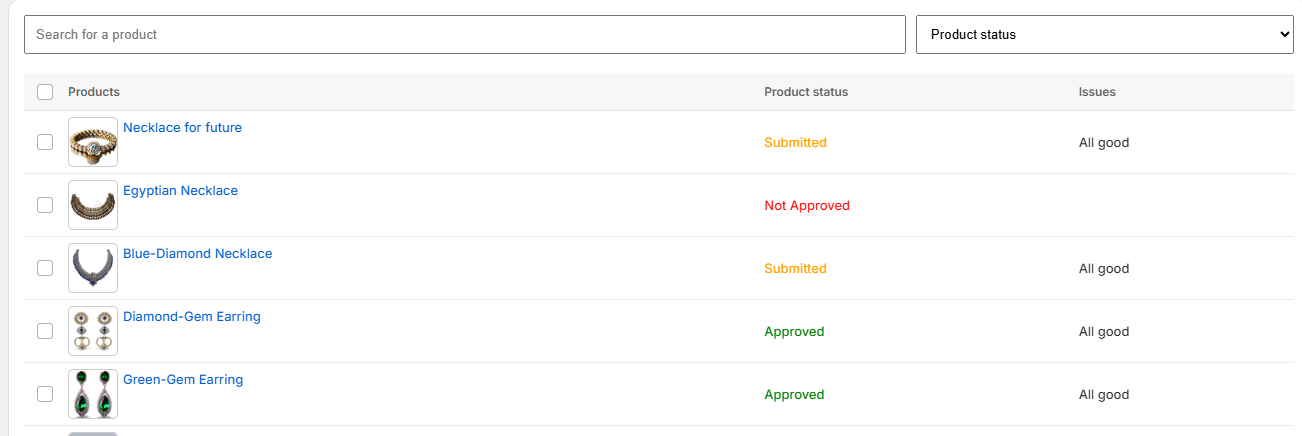
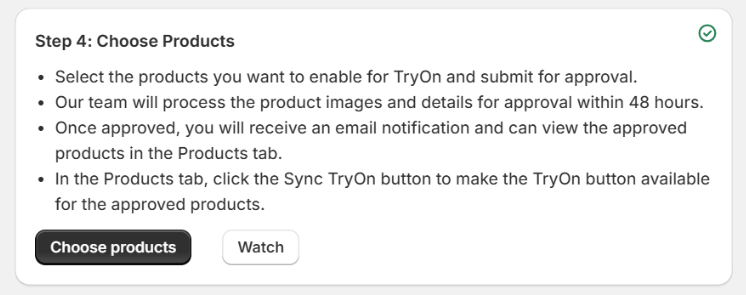
💎 Step 4: Choose Products
Select the jewelry you want to enable for Try-On and submit for review.
Our team will approve and activate within 48 hours.
Once approved, you will receive an email notification and can view the approved products in the Products tab.
👉 Click Choose Products to get started.
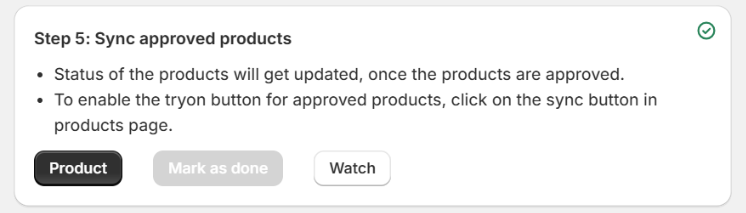
⚡ Step 5: Sync Approved Products
Once your products are approved, it’s time to make them Try-On ready.
✅ The status of approved products will be automatically updated.
🔄 To enable the Try-On button for these products, simply click the Sync button in the Products tab.
📩 You’ll also receive an email confirmation once syncing is complete.
👉 Click Sync Products to activate Try-On for your approved items.