
Streamlining Your Jewelry Inventory Management: A Step-by-Step Guide
Managing your jewelry inventory efficiently is crucial for maintaining a smooth operation, especially when dealing with a wide range of products. Our app offers a comprehensive solution for uploading and managing jewelry items, allowing you to keep track of every piece with ease. In this blog post, we'll walk you through the process of adding jewelry to your inventory and viewing it in an organized tabular form.
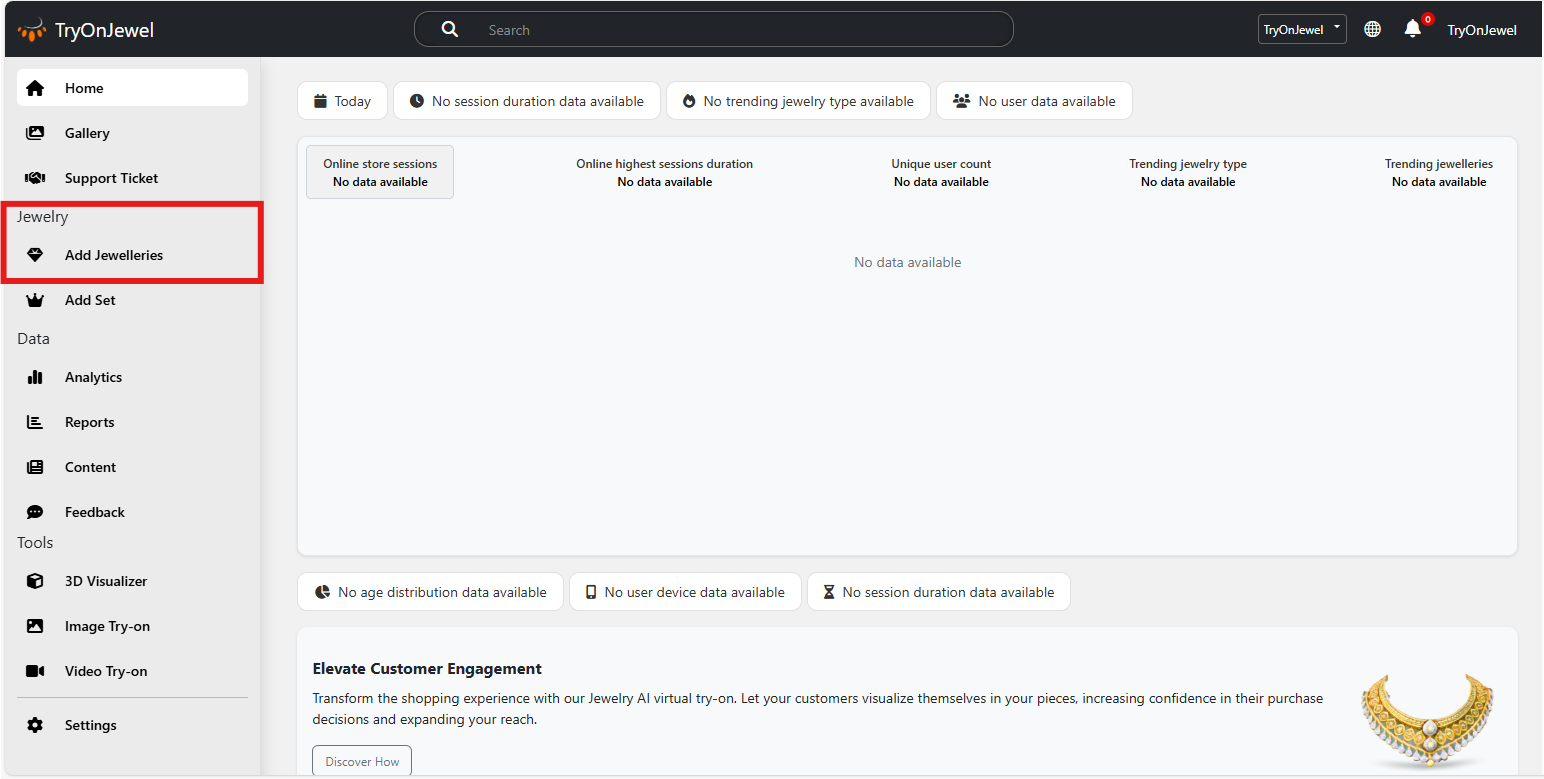
Step 1: Access the Jewelry Upload Section
To start, navigate to the Jewelry upload section of the app. This is where you'll be able to input all the necessary details about each piece of jewelry you wish to add to your inventory.
Step 2: Select the Store
The first field you'll encounter is the store selection. If you operate multiple stores, this dropdown allows you to choose the specific store where the jewelry item will be available. This ensures that each piece is correctly categorized according to its physical or online presence.
Step 3: Enter Jewelry Details
Next, you'll fill in the details of the jewelry item:
- Jewelry Name: Provide a unique and descriptive name for the item. This will be used to identify the piece in your inventory.
- Category: Choose the appropriate category from a predefined list, such as Gold, Platinium, Silver, etc. This helps in organizing your inventory effectively.
- Type: Specify the type of jewelry within the selected category. For example, if the category is Gold, the type might be noserings, mangtika, necklaces, earrings etc.
Step 4: Upload Images
Visual representation is key when it comes to showcasing jewelry. Our app allows you to upload multiple images for each item:
- 3D Image: Upload a 3D model here(.glb/.gltf) to give users a detailed view of the jewelry from all angles which can be interacted with modelViewer.
- Main Image: This is the primary image that will be displayed in listings and previews.
- Left Image and Right Image: These images provide the static and dynamic part of the 3d model(left for static and right for dynamic). Using both these or one of these we can set the look and feel of jewelleries and how they interact with physics.
Step 5: Submit the Jewelry
Once all the details are filled in and images are uploaded, you can submit the form to add the jewelry to your inventory. The app will process the submission, and the new item will be available for viewing in the inventory list.
Step 6: Viewing Jewelry in Tabular Form
After adding jewelry to your inventory, you can view all uploaded items in a tabular format. This table provides a clear overview of your inventory, with columns for:
- ID: The unique identifier assigned to each item.
- Name. The name of the jewelry piece.
- Category: The category under which the item is listed.
- Type: The specific type of jewelry.
- Store: The store name associated with the item.
- 3D Image, Main Image, Left Image, Right Image: Thumbnails of the uploaded images for quick reference.
- Action: In this column, you have options to edit or delete the item. Editing allows you to update any details or images, while deleting removes the item from your inventory.

Conclusion:
With this streamlined process, managing your Jewelry inventory becomes a breeze. From selecting the store to uploading detailed images and viewing your items in an organized table, our app ensures that every aspect of your inventory is well-handled. This step-by-step guide should help you make the most of the Jewelry upload and management features, allowing you to focus on what matters most—delivering beautiful Jewelry to your customers.